How are Portrait Mode Photos Made?
When taking a Portrait photo, the iPhone creates a “depth map” of the scene. Using the depth information, the background is blurred. The blurry background effect is called “Bokeh”, an effect commonly seen in professional images taken with DSLR cameras. In DSLR cameras, the effect can be controlled by using a smaller or larger “aperture” to let in less light to the camera sensor. Anyhow, the iPhone does a great job at emulating this effect by using depth.
Use the Photo Investigator to see Depth Maps
Unfortunately, Photos doesn’t allow access to the depth map directly, so download the Photo Investigator app and follow along.
Open the app and grant it “Full Access” to your photos for the best browsing experience (a new privacy option in iOS 14). In the Albums tab of the Investigator’s photo picker, choose the album for “Portrait” photos, and select any portrait photo.
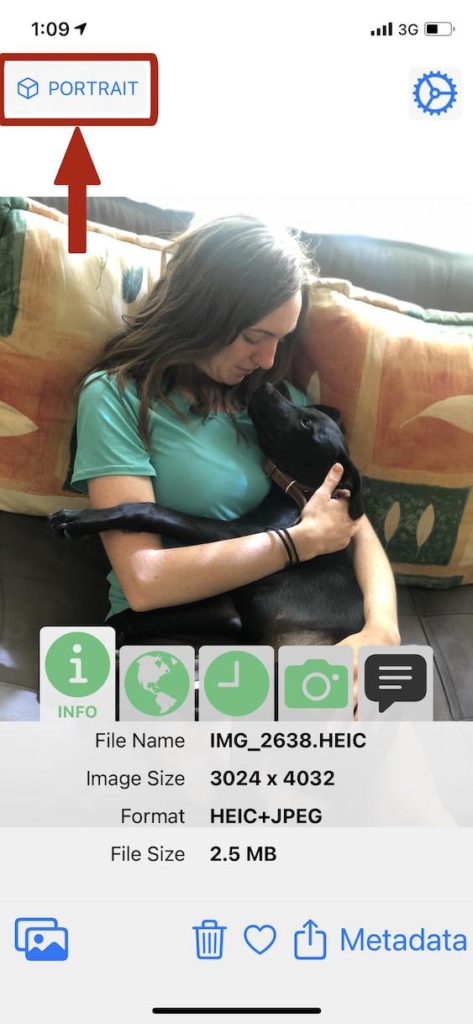
Now that the photo is selected and being shown, tap the “Portrait” button in the top left.
The app will ask you to confirm that you want to “Show Depth of Field”, so tap that, and the depth map is now shown!
More Examples of Depth Maps
A portrait photo of our mythical hiking van cat, on a hike in Organos National Park in Mexico.
Elephant orphan feeding time in Nairobi, Kenya!
How are Depth Maps Made?
Depth maps are made by using the multiple cameras on the back of your iPhone. This is called “stereoscopy” and is the same method our brain uses for depth perception, by comparing the two images from each of our eyes. On the iPhone, Apple enhanced portrait mode by creating a “machine learning” algorithm to better detect depth. This machine learning model was trained with pictures of people, so it doesn’t work on pets or any other kind of subject. Although, some iPhones with only one camera lens have portrait mode. These iPhones use the machine learning model to infer depth data from the picture, making something out of nothing! It’s no doubt an imperfect science, but still creates a nice effect.
The Photo Investigator app actually has two different code paths for formatting and displaying the depth maps, one for the machine learning depth maps, and another way for displaying the normal stereoscopy depth maps. You should be able to see the difference if you “investigate” depth maps from pictures of people and compare them to depth maps of photos without people. The “machine learning” model results in a highly detailed depth map, and heavily weights the people it finds in the scene, even over items that may be more in the foreground.
Check out depth maps in your photos (and more) with the Photo Investigator!
The Photo Investigator will show all kinds of metadata in your photos and videos: file size, camera information, albums a photo is in, captions, location, and much more. The app also includes an “action extension” so you can view photo metadata right from Messages or in Photos app, by using the share button.
You can edit the location, date, caption and copyright metadata, or remove it all (although there’s one single in-app purchase to unlock editing which also removes the minimal advertising).
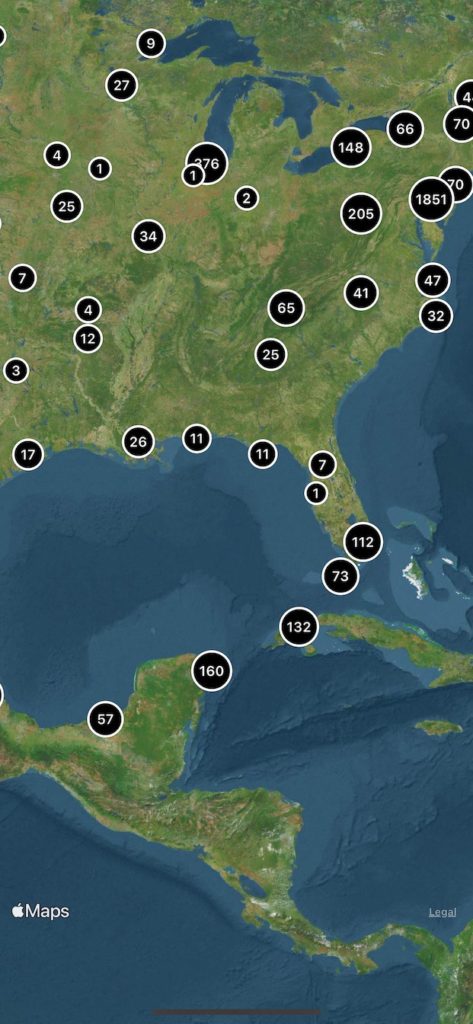
Using the GPS location of your photos, you can see a nice photo map of all your photos in the photo picker. Also, in the photo picker, pictures with GPS will show a globe over them, and will be filtered into “GPS” and “Non-GPS” albums.
The Photo Investigator App makes viewing, editing, removing and sending photo metadata easy. Photo and video metadata may include location (if added by the camera), date, device, software versions, file size, file name, an “iOS Metadata” section, and many more metadata items. more. Users can view and share DEPTH MAPS by selecting a portrait photo and tapping “Portrait”.


